Choose a stage to enter its chapter. Every image is an AI-generated photographic-style illustration; process parameters follow the actual work instructions.
Written process guide
Generic process illustrations, not evidence of a factory owned by our company. Actual work instructions and acceptance requirements must be confirmed for the order.
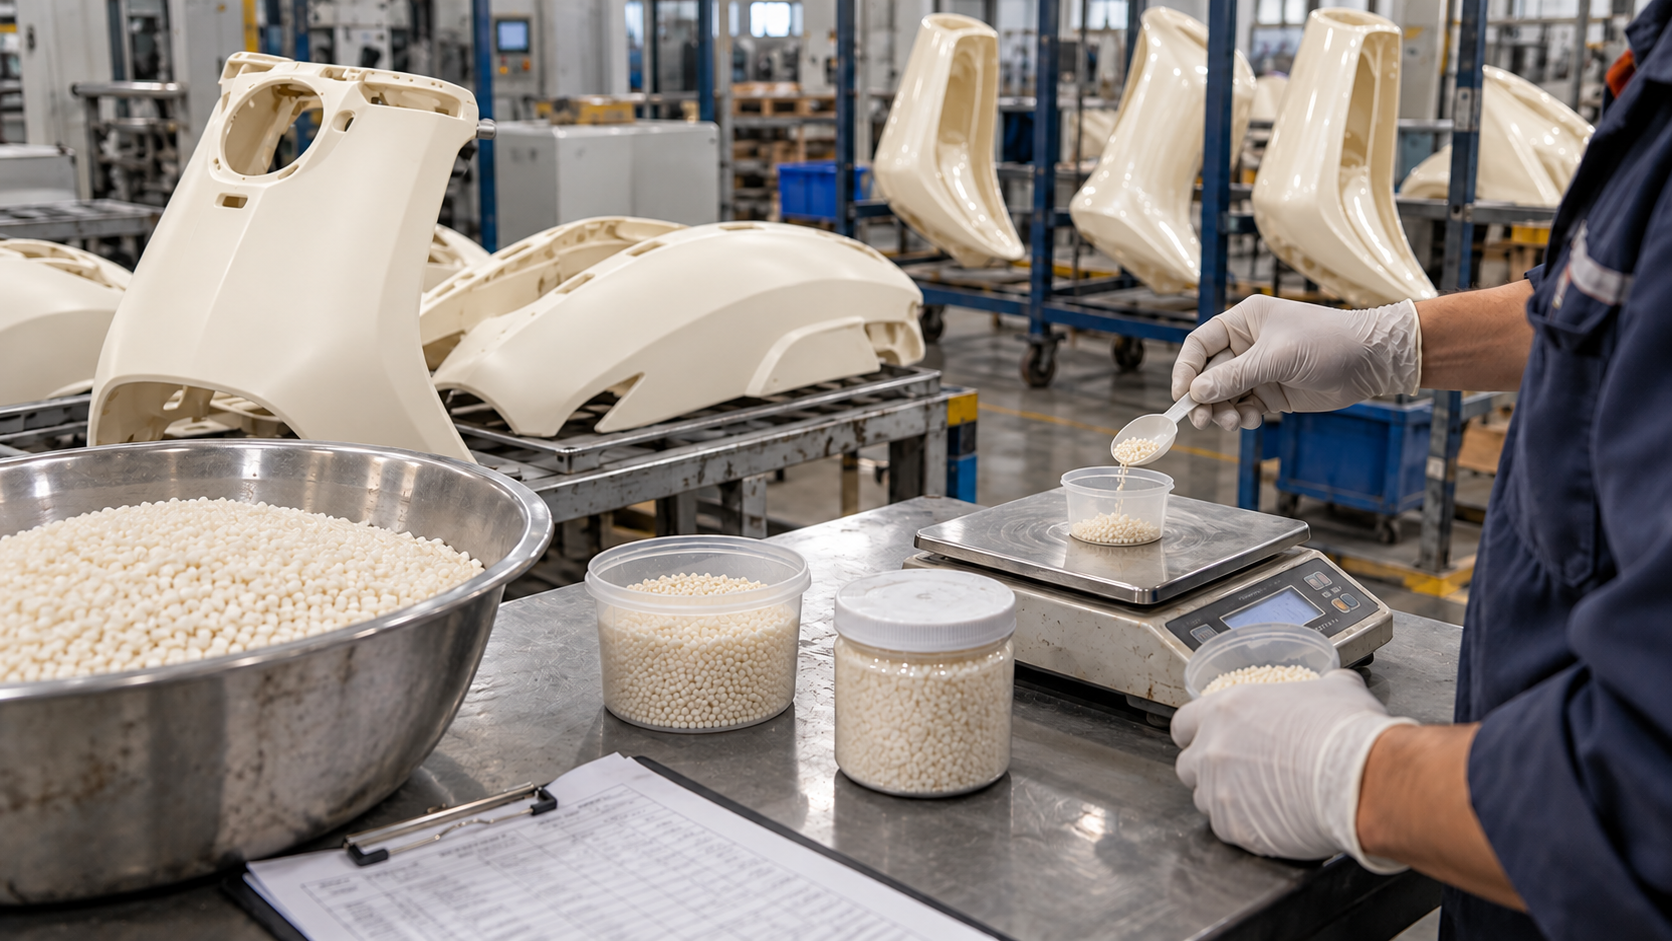
Weighing materials for colour matching
This example shows natural ABS with an off-white, slightly translucent appearance. If the customer specifies a colour, choose a masterbatch or pigment powder according to the formulation.
- Confirm the ABS grade, material lot and customer-approved natural-colour sample. This example is off-white and slightly translucent.
- Do not add blue pigment to the natural-colour lot. For other customer colours, use masterbatch or pigment powder according to a validated formulation.
- Weigh separately, verify the quantities and record the lots to prevent material mix-ups and incorrect colours.
Material blending
This natural ABS lot contains no blue pigment. Clean the equipment to prevent contamination with other colours or materials.
- Clean the hopper and blending equipment and check for residues from a previous colour or material.
- With the equipment stopped and the operating requirements met, add the measured natural ABS resin. For a customer-specified colour, add masterbatch or pigment powder according to the approved formulation.
- Follow the validated blending procedure, then transfer the material to a clean container labelled with the work order and lot.
Material pre-drying
Confirm whether drying is needed, the drying conditions and moisture limits for the specific resin grade.
- Check the resin and colour system datasheets for drying requirements. Do not use a single temperature for all plastics.
- Use suitable drying equipment and record the actual temperature, duration and any required moisture checks.
- After drying, maintain temperature, seal the material or feed it promptly as specified to prevent moisture uptake and contamination.
Injection moulding
This example shows natural off-white, slightly translucent ABS parts. Thin edges transmit a little light. Confirm moulding conditions for the specific grade, mould and product requirements.
- Check mould condition, feedstock identification, machine guarding and the revision of the applicable process settings.
- Follow the validated plasticising, filling and holding-pressure programme to control defects such as short shots, flash and weld lines.
- Allow the part to cool as specified before removal to avoid deformation, scratches or forced demoulding.
- Inspect appearance, mounting holes, clips, critical dimensions and assembly fit. Start series production only after acceptance.
Trimming moulded parts
Remove gates, flash and burrs without damaging visible surfaces, clips or mounting datums.
- Trim gate remnants as specified, without cutting into the part or creating new notches.
- Remove flash and burrs along the parting line. Support thin sections with a fixture where necessary.
- Check for surface damage, stress whitening and deformation, and verify that the clips are intact. Segregate rejected parts.
Packing moulded parts
Separate parts using clean, soft protective packaging to prevent scratches, crushing and contamination in transit.
- Sort by model, left or right side, colour lot and quantity. Remove visible debris.
- Separate visible surfaces with suitable clean protective materials. Do not let hard objects touch the plastic directly.
- Pack according to the packing specification and label each carton with the work order, model, quantity, lot and destination.
Transfer to the paint shop
The injection moulding plant and paint shop verify quantities, lots and appearance at handover. They are separate facilities, not one workstation.
- Check the delivery note, model, quantity, material and lot. Confirm the coating requirements and approved samples.
- Protect parts from crushing, rain and dust during loading, unloading and transit, and keep them separate from oily items.
- The paint shop inspects incoming parts against the receiving specification. Record and segregate damaged, scratched or quantity-discrepant shipments.
Sanding and levelling before painting
Treat surface defects using approved methods without sanding through thin walls or damaging defined edges.
- Confirm which defects can be repaired. Treat cracked substrates or severely deformed parts as rejects.
- Use the specified abrasives, fixtures and repair materials where required. Control the sanding area and amount removed.
- Recheck edges, flatness and appearance. Do not change assembly datums by excessive sanding.
Scuff sanding / Cleaning
Scuff the substrate surface that will be coated, then remove dust and clean it. This does not mean treating only the back of the part.
- Scuff the surface to be coated as required by the coating system. Avoid leaving untreated glossy areas or making excessively deep sanding marks.
- Remove dust, oil and other contamination using a cleaning method compatible with the substrate. Follow the process sheet for cleaning products and working conditions.
- Verify cleanliness, dryness and surface condition. The validated process determines whether to use an adhesion promoter or primer system.
Paint mixing
Mix to the coating supplier’s instructions and the approved sample. Control mixing ratio, filtration and usable time.
- Check compatibility among primer, colour coat and subsequent coats, as well as colour revision and material lots.
- Measure and stir according to the relevant technical data. Follow product requirements for any induction time, viscosity and pot life.
- Filter, label and record lots as specified. This page does not prescribe a single mix ratio for all paints.
Initial spray coating
Apply the selected primer and colour-coat system in separate passes. Follow the coating requirements for flash-off and intercoat conditions.
- Position the parts in the fixture and protect areas not to be coated. Use a suitable spray booth, ventilation and personal protection.
- Apply the required coats and number of passes using the validated process. Control coverage, runs, dry spray and missed areas.
- Allow the specified flash-off and check intercoat condition before proceeding to the appropriate drying or curing stage.
Initial drying and curing
Set drying and curing conditions according to both coating requirements and the plastic substrate’s heat tolerance.
- Check coating condition, fixture spacing and the drying work order. Prevent parts from touching or sticking together.
- Control temperature, time and ventilation within the limits of the selected coating system and plastic part to prevent heat distortion.
- Cool as specified and confirm readiness for finishing. Do not polish or pack before the process criteria are met.
Initial finishing and polishing
Finish and polish using methods permitted by the coating system, protecting edges and film thickness.
- Determine whether defects can be corrected within the permitted finishing scope. Segregate and assess defects that cannot be repaired.
- Select abrasives, polishing materials and operating conditions according to the process. Prevent sanding through, heat damage and uneven gloss.
- Remove residual polishing materials, recheck appearance and submit for inspection.
Initial inspection / Route decision
Determine whether inspection passes first. Then use the customer’s selected coating option to decide whether to apply another coat.
- Check appearance, colour, gloss and specified performance against the approved sample and inspection specification. Segregate rejects for assessment first.
- Standard-finish parts proceed to packing once accepted. If the customer requested a gloss clear coat or two-layer finish, follow the additional-coat route.
- An additional coat is a customer-specified process route, not respraying to correct a reject. Rework requires separate approval and reinspection.
Customer option: second spray coat
Use this stage only if the additional-coat option was selected. Confirm compatibility, intercoat condition and treatment requirements first.
- Verify the customer-approved clear-coat or two-layer option, material revision and coating compatibility.
- Use the recoat window and process requirements to determine any necessary scuffing, cleaning or other intercoat treatment. Do not assume every polished surface can be recoated.
- Apply the additional coat according to the selected option, then cure it again. Do not pack it for dispatch immediately.
Second drying and curing
Dry and cure again under the conditions specified for the additional coating, taking account of the substrate and existing coating.
- Verify the technical requirements for the additional coat. Do not automatically reuse the initial drying settings.
- Follow validated conditions and control plastic distortion, film defects and effects between coats.
- After cooling, confirm readiness for finishing before proceeding to trimming and polishing.
Second finishing and polishing
Use methods permitted by the final coating. Match the gloss to the customer-approved sample.
- Verify the customer’s requirements, such as gloss or a two-layer finish, and the permitted scope of finishing.
- Finish and polish for the applicable coating system, taking care around edges, between coats and where polishing could alter gloss.
- Remove residue, protect the final visible surfaces and send the parts for second inspection.
Second inspection / Final inspection
The additional-coat route requires reinspection. Confirm final appearance and order-specified performance before packing.
- Check colour, gloss, particles, runs, scratches and other appearance requirements against the customer-approved sample.
- Perform the adhesion, coating or other performance checks specified by the order and inspection criteria. Do not set blanket acceptance criteria for all materials.
- Segregate and handle rejected parts. Release accepted parts for packing after recording the inspection results.
Packing finished parts
Confirm curing and release status. Use suitable separators to protect final visible surfaces.
- Verify final inspection results, model, left or right side, colour revision and kit quantities.
- Use clean, soft protection and suitable dividers to prevent pressure marks, scuffs, sticking and handling damage.
- Pack according to the specification and label the lot, kit details and receiving assembly line.
Dispatch / Transfer to the assembly line
Send matched kits to the assembly line and hand over lot, quantity, colour and appearance information.
- Check the dispatch list, customer or internal order, colour revision, lot and release identification.
- Protect parts as required by the transport specification. The receiving team verifies quantity and packaging condition and checks for discrepancies.
- Kit parts by vehicle model, colour and assembly needs before line loading. Keep lot-traceability information.